
Getting Started with the Indexing API
The Indexing API empowers website owners to directly inform Google about new page additions or removals. This notification mechanism enables Google to schedule fresh crawls of pages, ultimately enhancing the quality of user traffic. Currently, the Indexing API exclusively supports pages containing either JobPosting or BroadcastEvent elements embedded within a VideoObject. For websites featuring numerous short-lived pages, such as job postings or live-streamed videos, the Indexing API effectively keeps content up-to-date in search results by facilitating individual updates.
Here are some key actions you can perform using the Indexing API:
- Update a URL: Notify Google about a new URL that needs crawling or inform us when the content on a previously submitted URL has been modified.
- Remove a URL: If you’ve removed a page from your servers, let Google know so we can eliminate the page from our index and avoid any further attempts to crawl the URL.
- Check Request Status: Review the latest notifications Google received for a particular URL, including the timestamp of each notification.
- Batch Indexing Requests: Optimize your client’s performance by consolidating up to 100 calls into a single HTTP request, reducing the number of individual HTTP connections required.
Read: Google Index Tools – Submit URL To Google For Indexing Free Google Index Tools(Run on MacOS, buy once, use forever)
Creating an Indexing API Project – Step by Step Guide
Step 1: Access Google Cloud Platform
To begin, navigate directly to the Google Cloud Platform by following this link.
Step 2: Generate a New Project
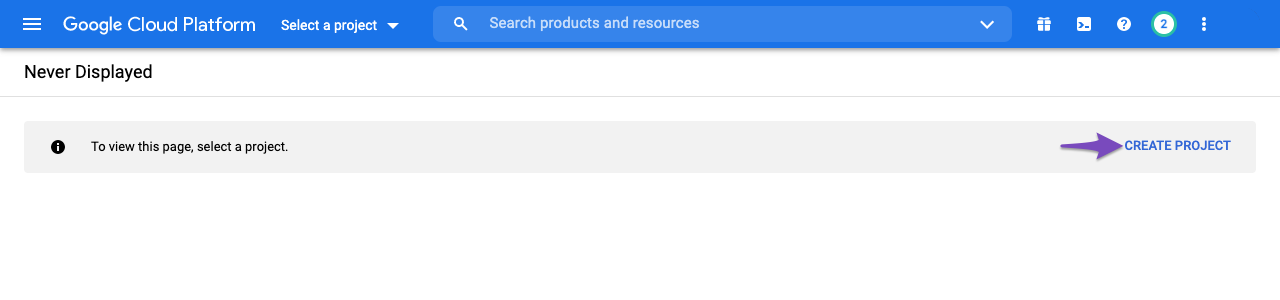
Ensure you’re creating a new Indexing API project by selecting the “Create Project” option. Alternatively, you can click the “Select a project” dropdown menu and choose “New Project” from the displayed popup.
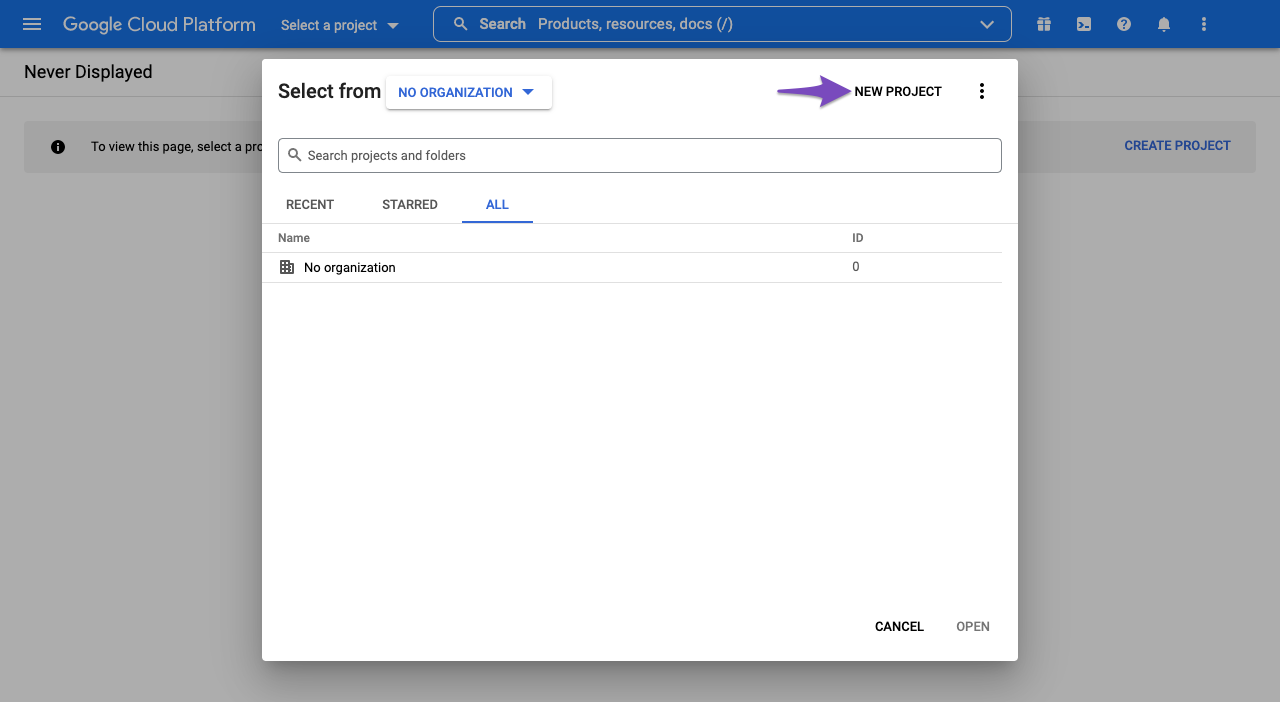
On the subsequent screen, provide a recognizable name for your project, and then click “Create.”

Step 3: Authorize API Access
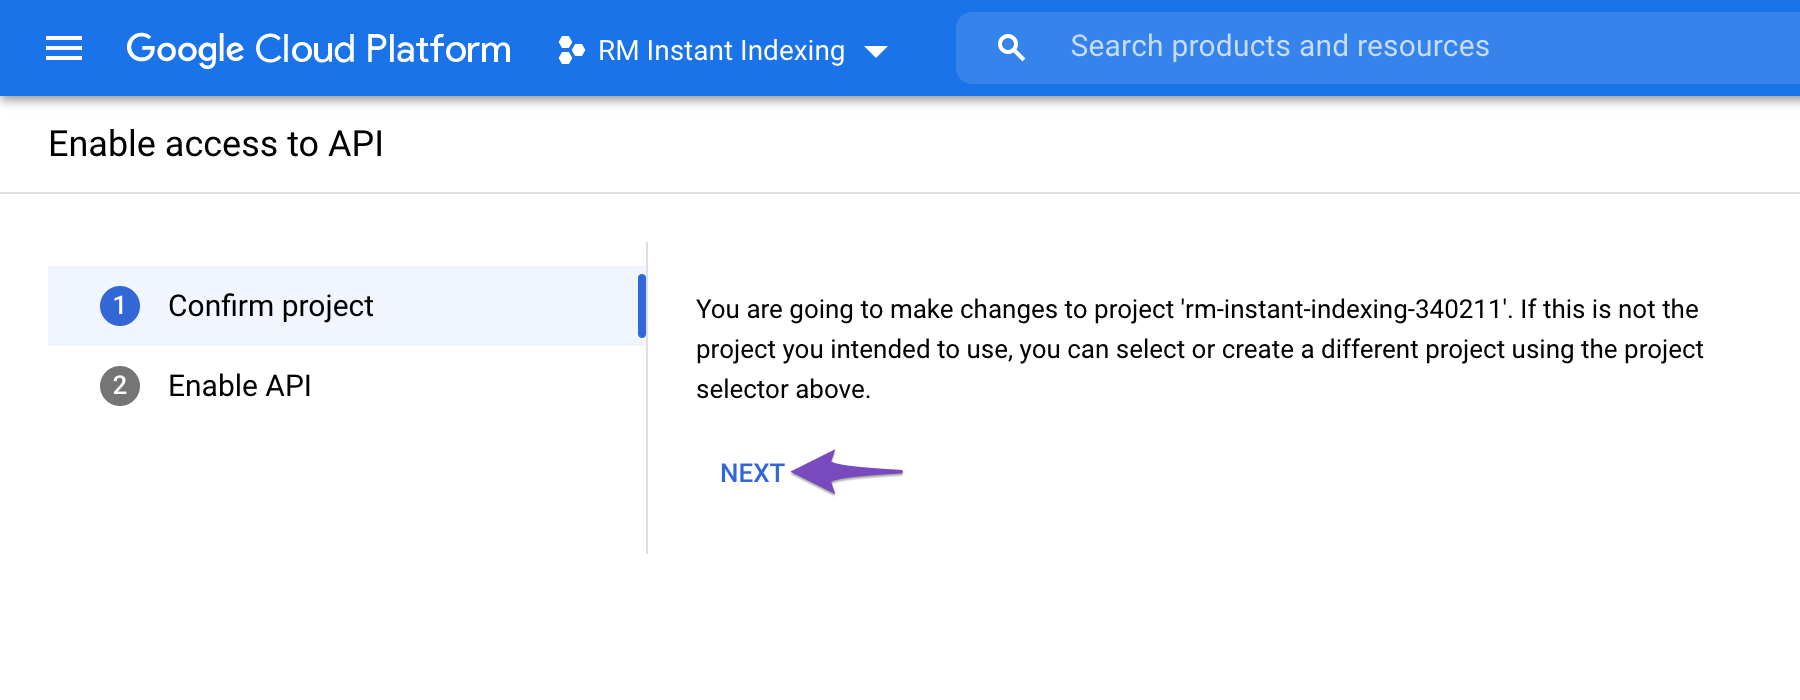
After successfully creating the project, you’ll need to enable it to access the API. In the next step, you’ll encounter a screen as shown below. Confirm that the chosen project is the one intended for Instant Indexing API. If not, use the top dropdown to change the project selection. Once you’ve verified the project, click “Next.”
In the following step, click “Enable” to grant your project access to the Instant Indexing API.
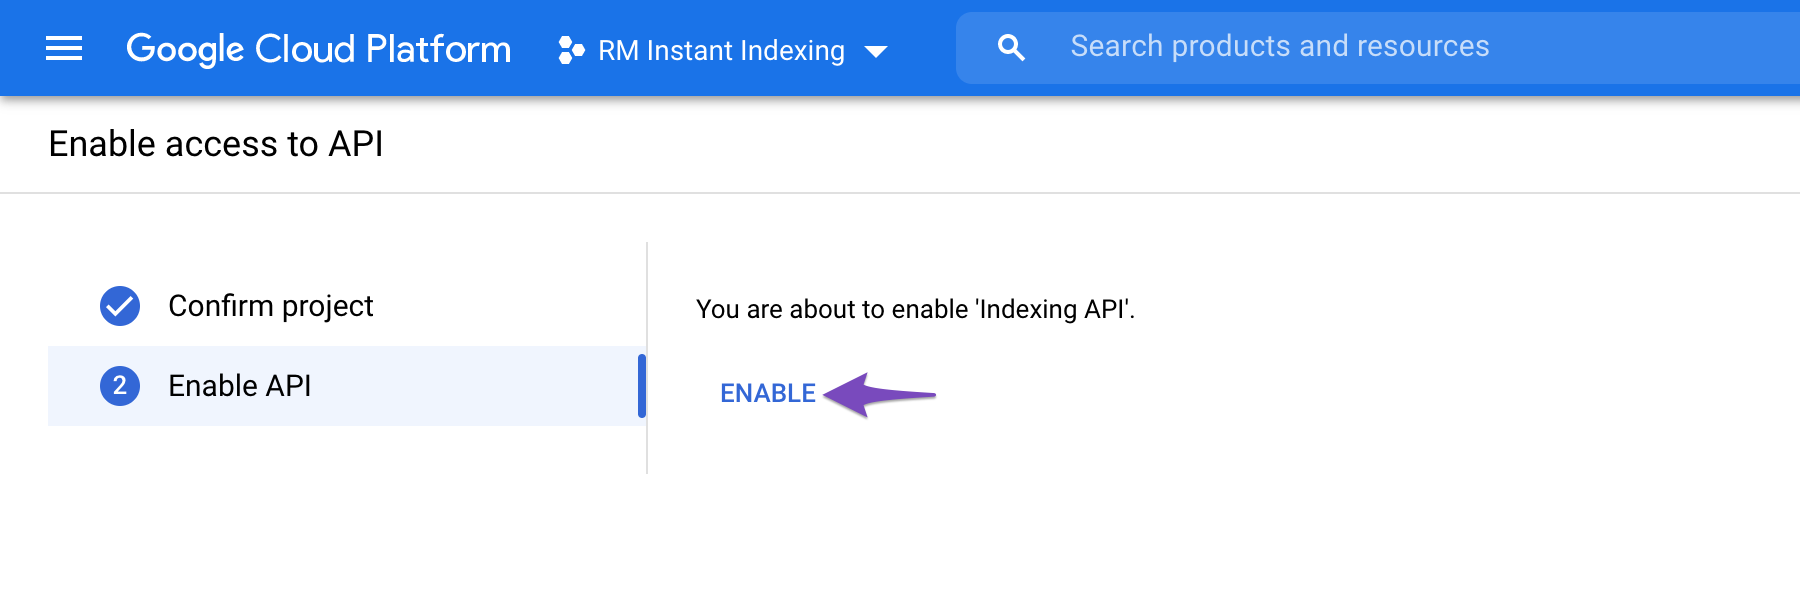
Upon enabling this access, you can close the tab.
Creating a Service Account – Detailed Instructions
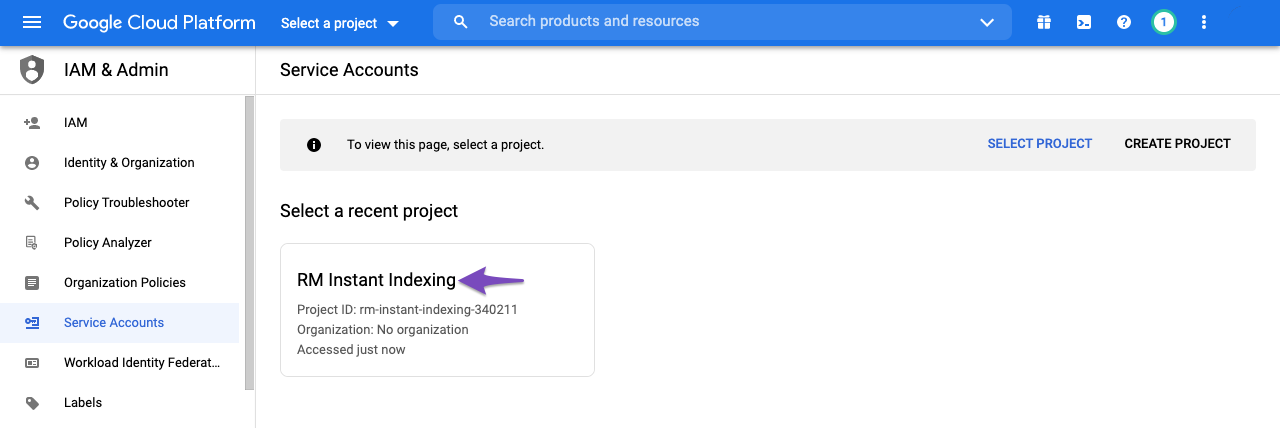
Step 1: Project Selection
You will initially be prompted to select the API project for which you wish to create a service account, which should be the project you created in the previous step.
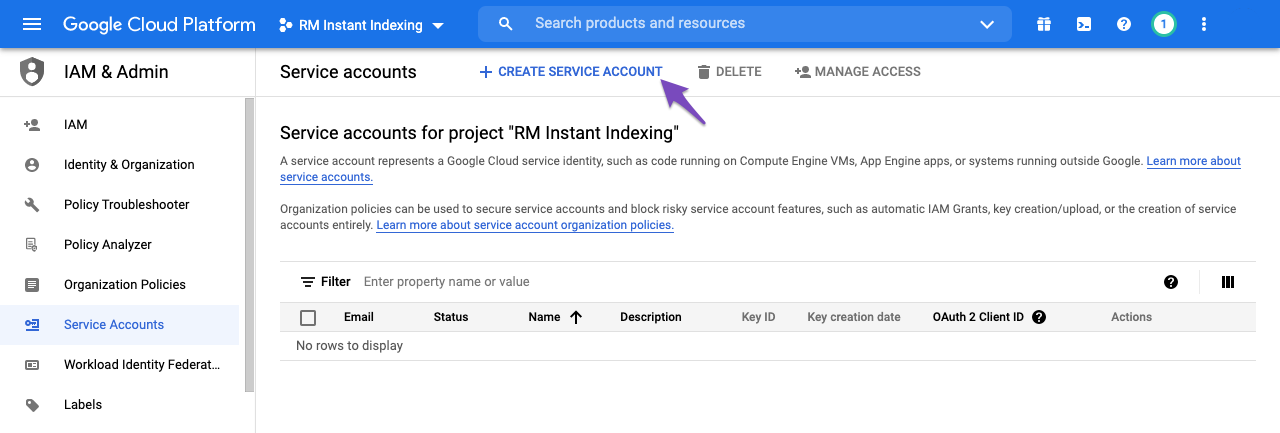
Step 2: Service Account Creation
After selecting the appropriate project, you’ll be directed to the following page. Here, you simply need to click the “Create Service Account” button, as highlighted below:
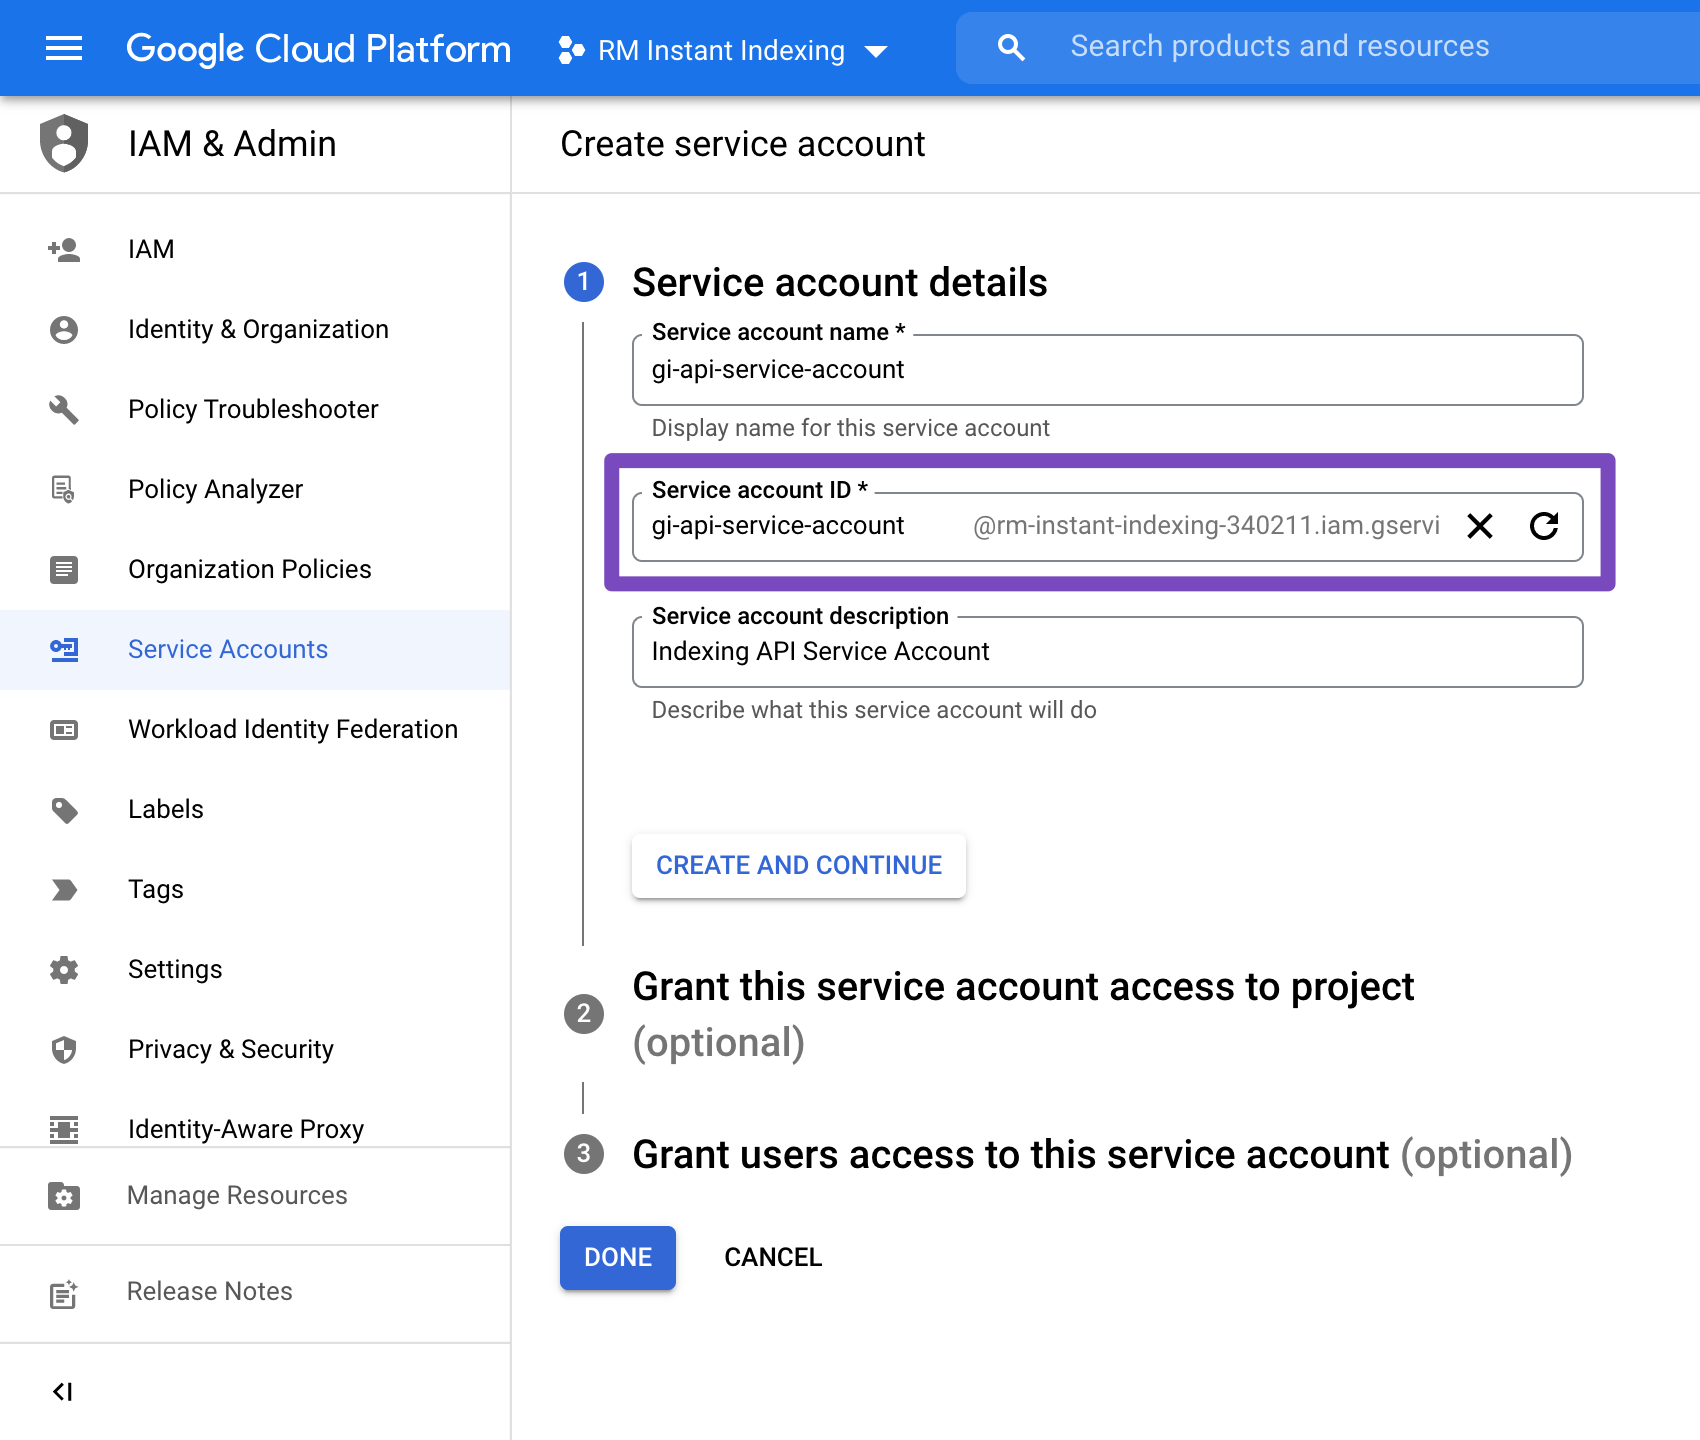
On the “Create service account” screen, provide a name and description for the newly generated service account. Additionally, make sure to select and copy the entire Service Account ID (resembling an email address) as it will be required later. Finally, click the “Done” button at the bottom.
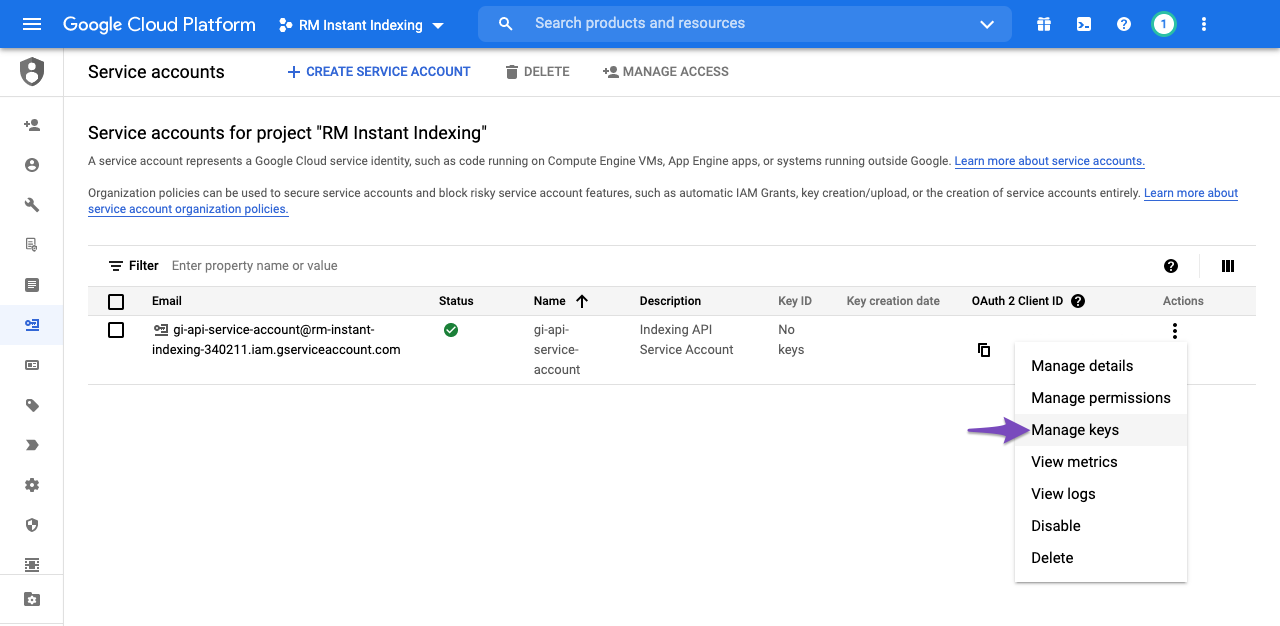
Step 3: Managing Keys for the Service Account
Next, you’ll be able to download the file containing your API key. To do this, click on the three vertical dots in the “Actions” column and then select “Manage keys,” as illustrated below:
Step 4: Creating a New JSON Key for the Service Account
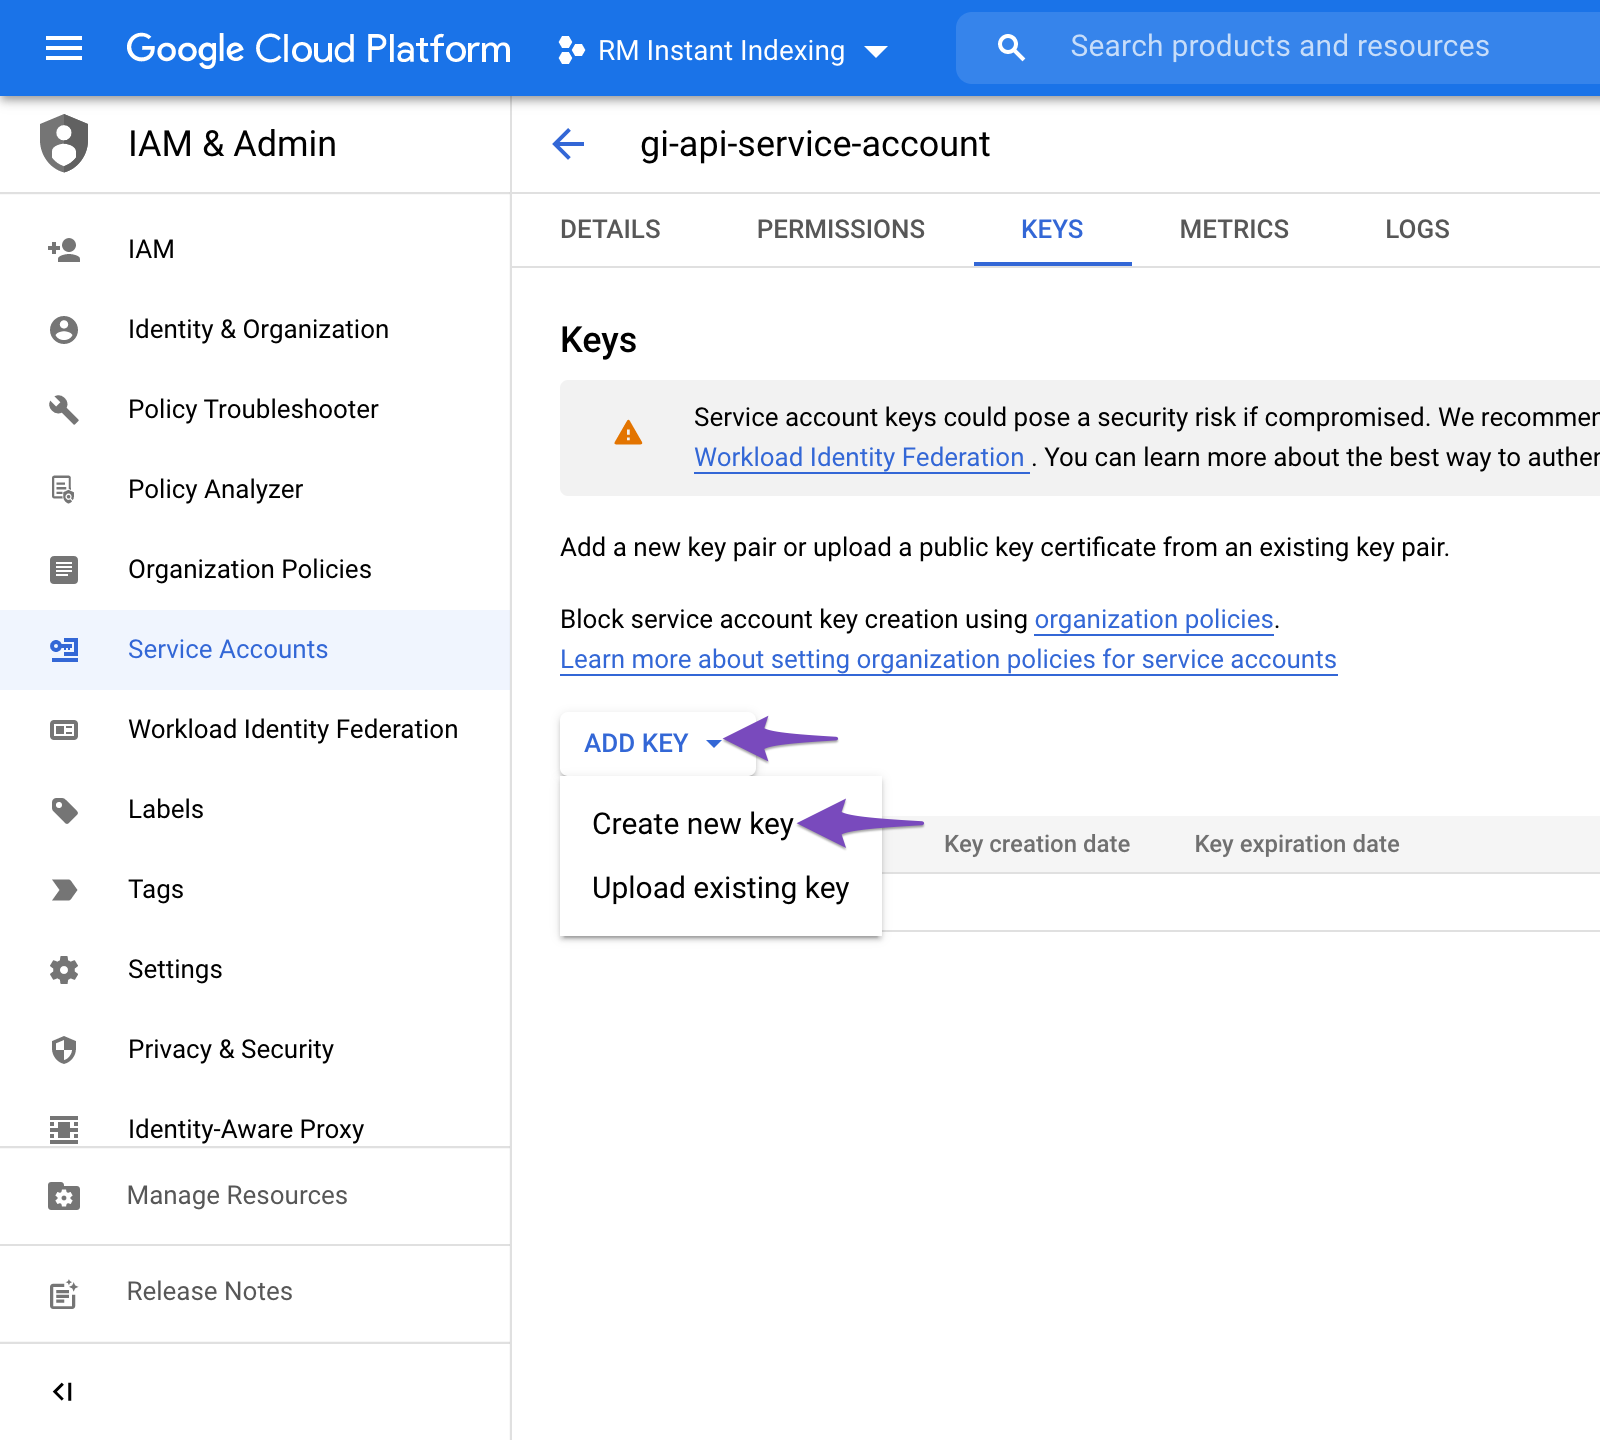
This will take you to the following page, where you can click “Add Key” and then select the “Create new key” option, as displayed below:
When prompted, opt for the default JSON format in the overlay, and then click “Create.”
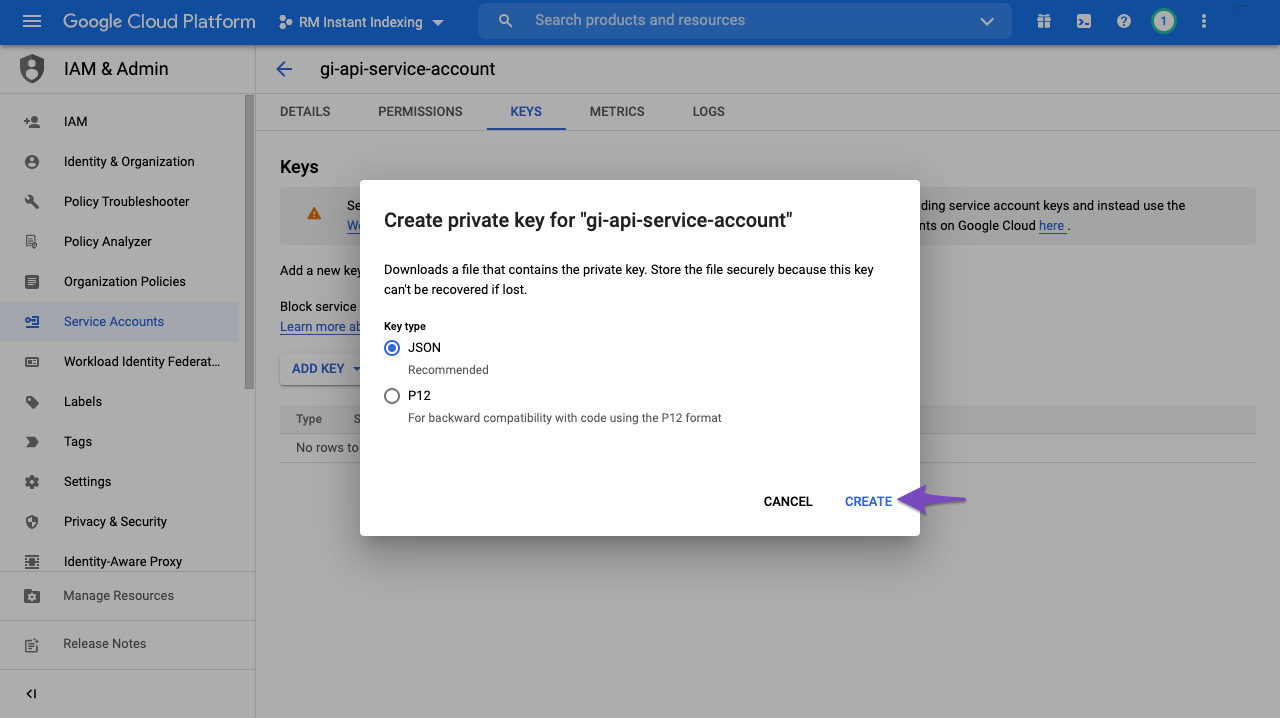
By clicking “Create,” the .json file will automatically download to your browser, confirming the successful creation of the API key and allowing you to proceed to the next step.
Read: Google Index Tools – Submit URL To Google For Indexing Free Google Index Tools(Run on MacOS, buy once, use forever)


thank you for share